snapThat is a lightweight bug & task tool with super fast workflows:
take screenshots, annotate instantly, post as a task and discuss with the team. This
doc walks you through the Public API, website plugin, SnappingTool,
and key frontend features.
Note
Default API base: https://snapthat.dev/api. Authentication via
Authorization: Bearer <token>.
SnapThat is available as a flexible SaaS model. There’s a free basic account – you can upgrade your license anytime for more team members or projects.
Price overview
License
Price / month
Details
User
€4.99
Per additional user
Project
€2.99
Per additional project
Billing
Handled via Stripe.
Cancel any month.
VAT shown on the invoice.
Public API
The public API is JSON-based. Always set the header
Authorization: Bearer <token> (JWT/token). Content-Type: application/json
– for uploads use multipart/form-data.
GET /licenses – active subscription of the organization.
snapthat.plugin.js
The website plugin shows a small button at the bottom left/right and brings login, notes,
screenshots with annotation, element pins, a comments view and a to-do list directly into your page.
File:/assets/js/snapthat.plugin.js
Embedding
Simply include the script at the end of the page. You can set the most important options as convenient data-* attributes on the <script>.
Alternatively, the same options can be configured globally via window.SNAPTHAT_OPTS. Only the API base URL is required.
<!-- at the end of <body> -->
<script src="//snapthat.dev/snapthat.plugin.js"
        data-api="https://snapthat.dev/api"
        data-brand="#0ea5e9"
        data-pin="#ef4444"
        data-theme="dark"
        data-pos="right"
        data-offsetx="14"
        data-offsety="14"></script>
The plugin auto-loads missing assets (SF Pro, Font Awesome).
For screenshots, html2canvas is included automatically.
Options
All options can be set as data-* on the script or via window.SNAPTHAT_OPTS.
Defaults: theme=dark, brand=#0066ff, pin=#ff5252, pos=right, offsetX/Y=14.
api – base URL of the REST API, e.g. https://<domain>/api.
brand – primary color of the button.
pin – color for pins/markers.
theme – dark or light.
pos – left or right (button position).
offsetX, offsetY – distance from the edge in pixels.
Hard-lock API URL (e.g. in production):
<script>
  window.SCENARIO_TODO_API = "https://snapthat.dev/api"; // overrides local settings
  // Optionally pass through an SSO token:
  // window.SCENARIO_TODO_TOKEN = "Bearer <...>";
</script>
If window.SCENARIO_TODO_API is set, the API base is no longer editable in the login dialog.
An optional SCENARIO_TODO_TOKEN can inject an existing session/SSO token directly into the plugin.
Examples & UI
Quick guide
Login: via “SnapThat.dev” button – as admin you’ll have team list & avatars ready.
Note & screenshot: create a screenshot (optionally annotate) and save it with a note.
Pins: “Pin element” selects a DOM element; the next screenshot can automatically crop the area.
Open list: shows to-dos for the current page; comments can be entered directly.
SnappingTool
The SnappingTool is a desktop app for Windows and macOS that
enables screenshots, annotations and direct upload as a task or comment to SnapThat.
Installation & Updates
Windows installer (EXE) with auto-update
macOS app (DMG); to be signed & notarized in the future
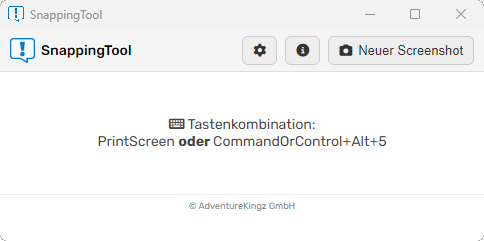
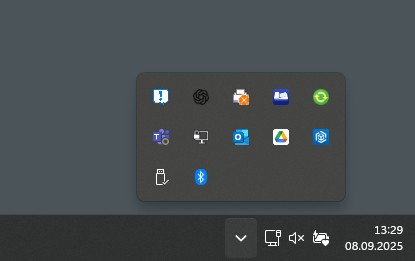
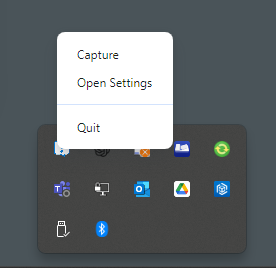
After installation the tool runs as a tray icon (camera symbol). There you’ll find the menu, hotkeys,
license info and quick access.
Capture & Shortcuts
PrintScreen (Windows) / ⌘ ⇧ 5 (macOS): full screen or selection
Overlay follows the mouse – selection mode for the active display
Upload as a new task or as a comment on existing tasks
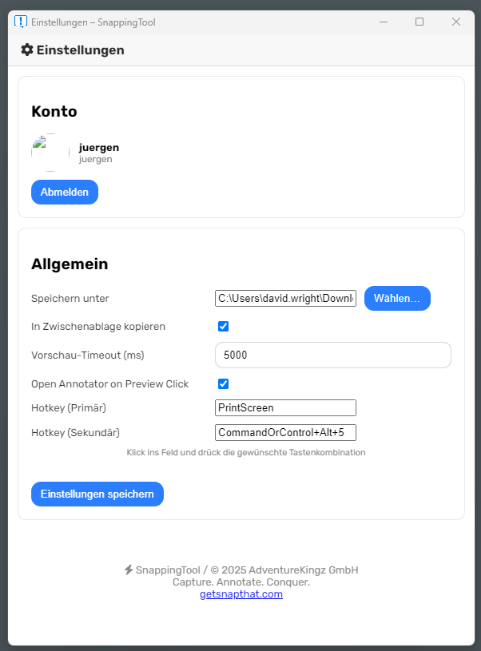
Configuration
Configuration exclusively via the integrated settings window – no manual file changes.
Save to: set storage location.
Copy to clipboard: copy screenshots automatically.
Preview timeout: duration in ms for the preview image.
Open Annotator on Preview Click: clicking the preview opens the editor.
Hotkeys: define primary and secondary combinations.
Note: Only new tasks can be created; commenting on existing tasks is not possible.
Login required to create tasks; all other features (screenshot, annotation, save, etc.) are usable without login.
Example settings window (Windows).
macOS: open app from unknown developer
If macOS blocks the app (because it’s unsigned), proceed as follows:
Move the app to the “Applications” folder.
Open it → macOS shows a warning.
Now open **System Settings → Privacy & Security**.
Scroll to the “Security” section and click “Open Anyway”. :contentReference[oaicite:0]{index=0}
Confirm with your password; the app will be saved as an exception.
Alternatively in Finder: right-click (Ctrl-click) on the app → Open → in the dialog choose Open again – the exception will be set. :contentReference[oaicite:1]{index=1}
Please switch to a signed/notarized version as soon as possible.
Screenshots
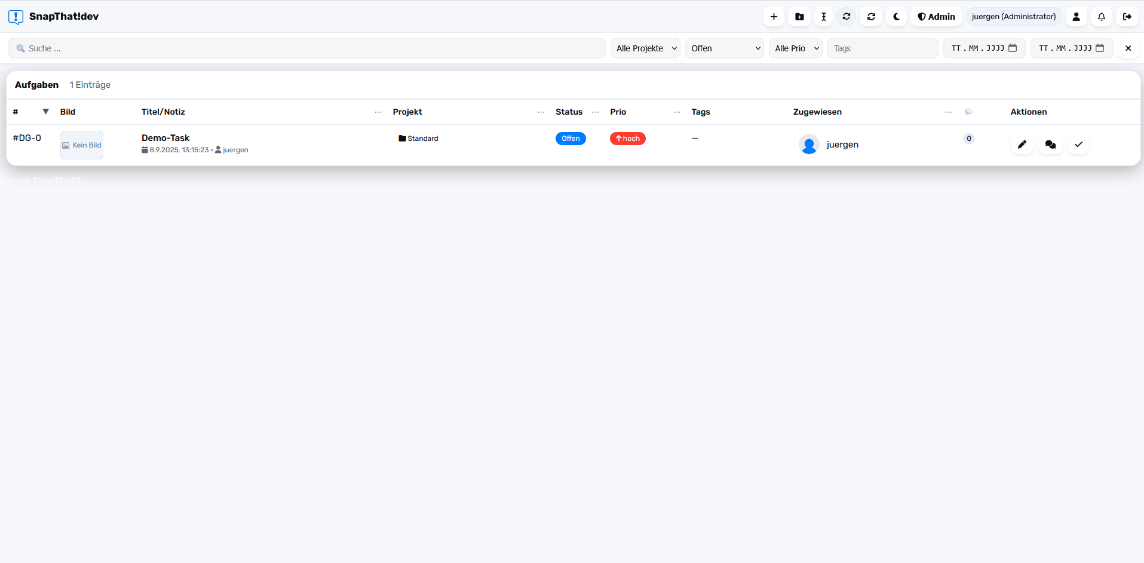
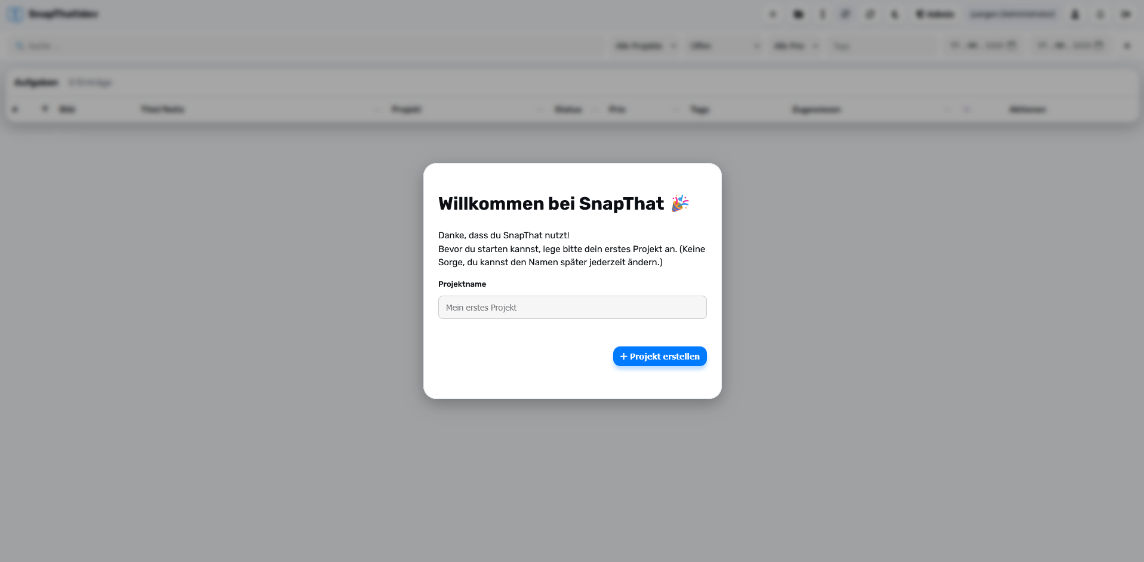
Frontend – task management
The web app is the heart of SnapThat. Here you organize tasks, screenshots, comments
and projects in a clearly structured interface. It combines classic lists with a modern
kanban board and is fully integrated with the plugin & SnappingTool.
Overview
List – sortable task overview with filters.
Kanban – drag & drop between columns (status or categories).
Filters – search, project, status, priority, tags, time range.
Notifications – live, multi-language and optionally via email.
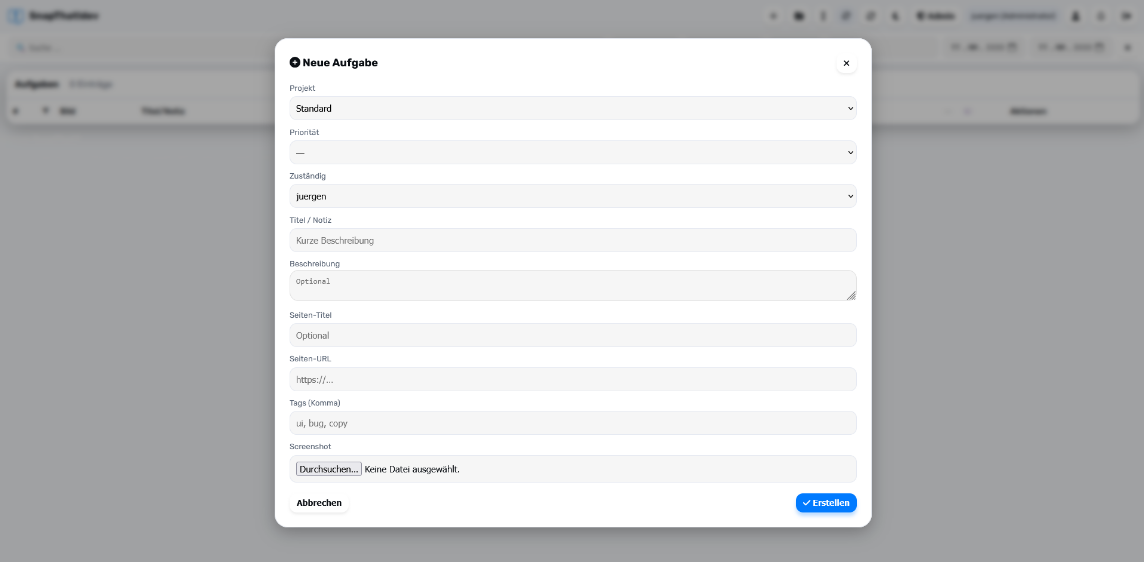
Create & edit tasks
New tasks can be created via a modal form – including:
Project, priority & assignee
Title / note and detailed description
Page title & URL (e.g. passed automatically by the plugin)
Tags (multiple via comma)
Screenshot upload with preview
Tasks can be edited, deleted or marked as “done” at any time.
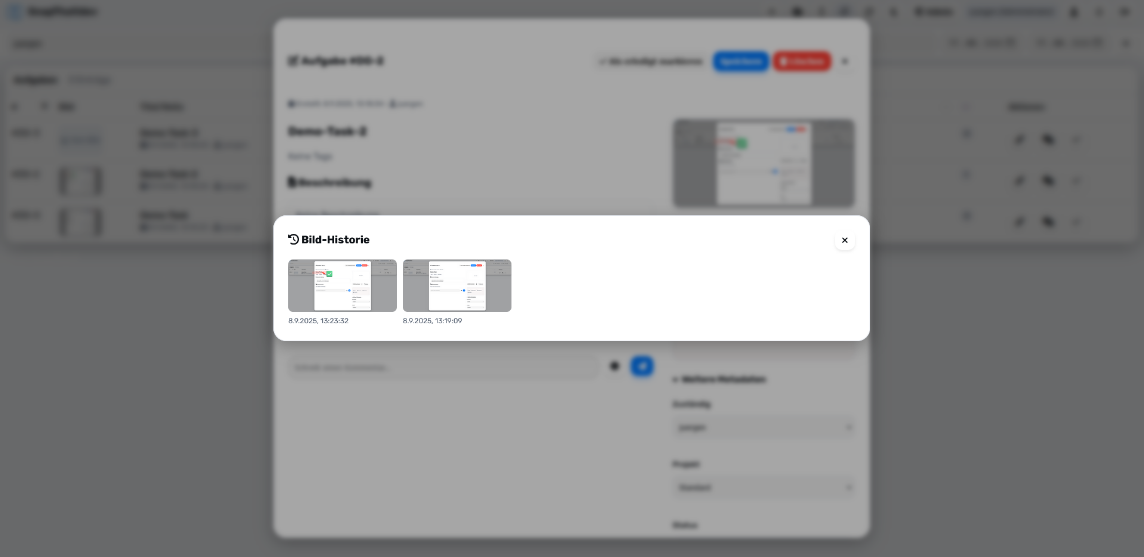
There is a history for screenshots so older versions can be restored.
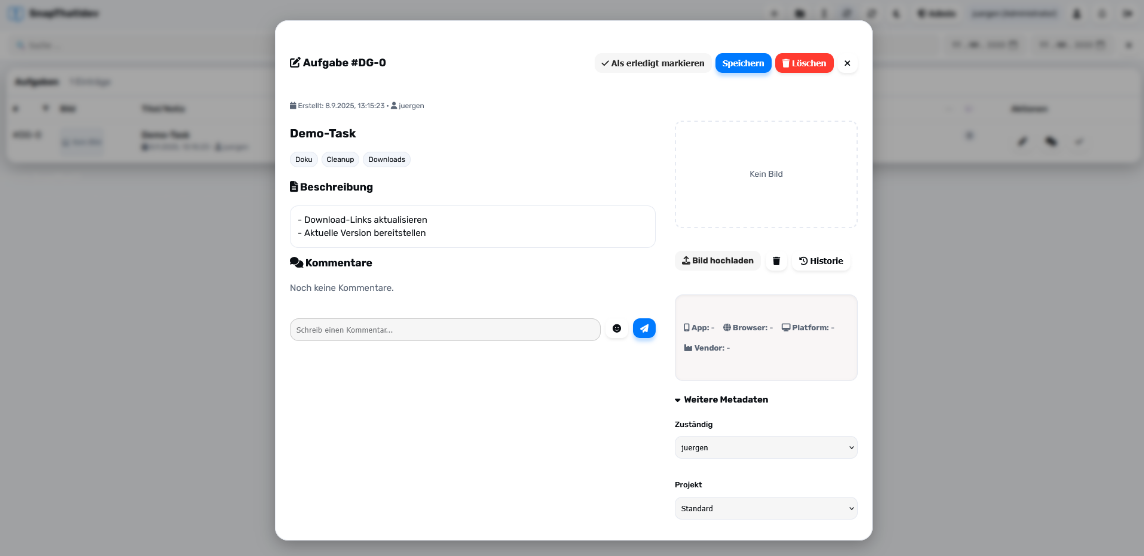
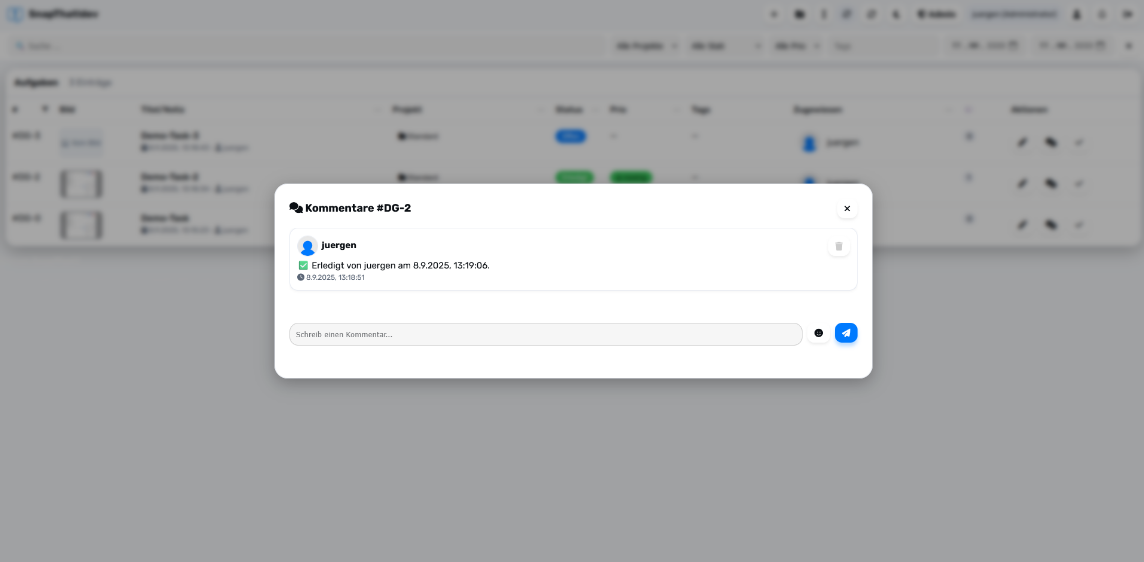
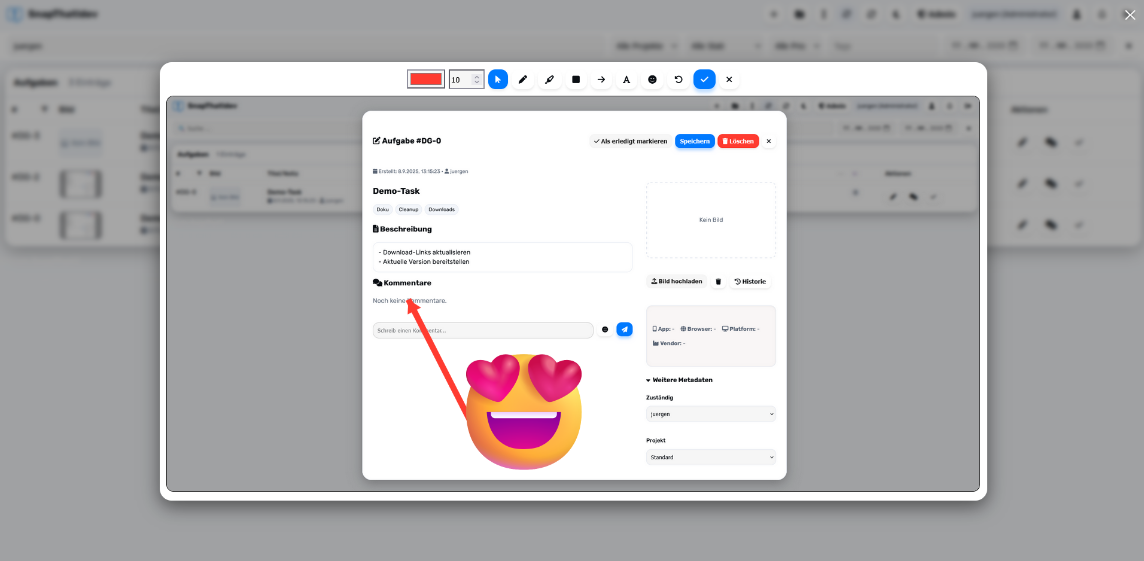
Comments & collaboration
Live comments with emoji picker and mentions (@user).
File attachments via drag & drop.
Lightbox & annotator: annotate screenshots in the browser with text, marker, shapes and emojis.
Under each screenshot: meta info (who & when uploaded). Clicking scrolls to the matching comment.
Kanban board
The kanban board shows tasks grouped visually – either by status or by
categories. Cards can be moved via drag & drop. Optionally, descriptions or screenshots
can be shown directly on the cards.
Plus button: In each column you can create a new task directly with prefilled status/category.
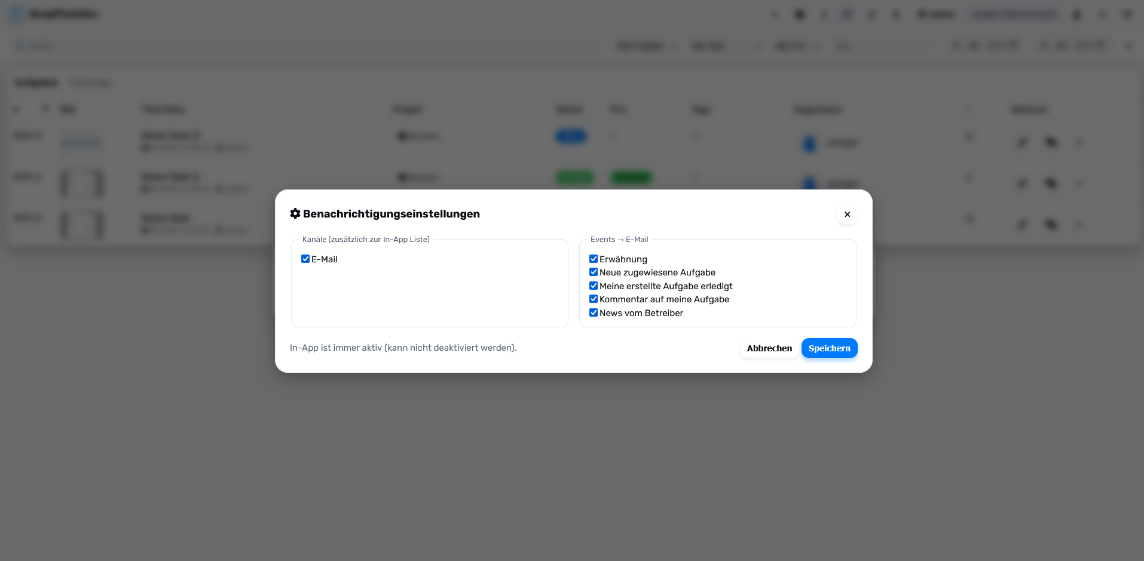
Notifications
Notifications appear as a badge and in a dedicated list. They support:
New assignments
Comments & mentions
Status changes
News from the operator
All texts are multilingual (i18n). Optionally, emails or push notifications can be enabled.
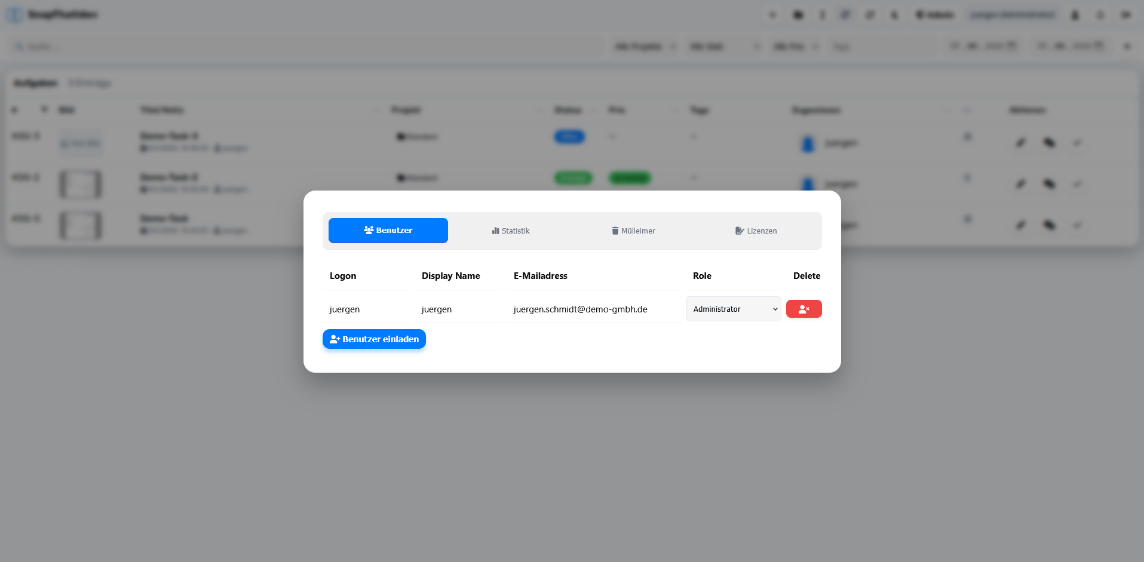
Admin area
Administrators have access to additional tools:
User management: invite, assign roles, edit avatars & language
Trash bin: restore deleted tasks & comments
Statistics: KPIs for users, projects & tasks
License management: adjust user & project licenses, billing via Stripe
Profile & account
Own profile card with avatar, role, language & email
Edit display name & upload avatar
Language settings (multilingual)
Change or reset password
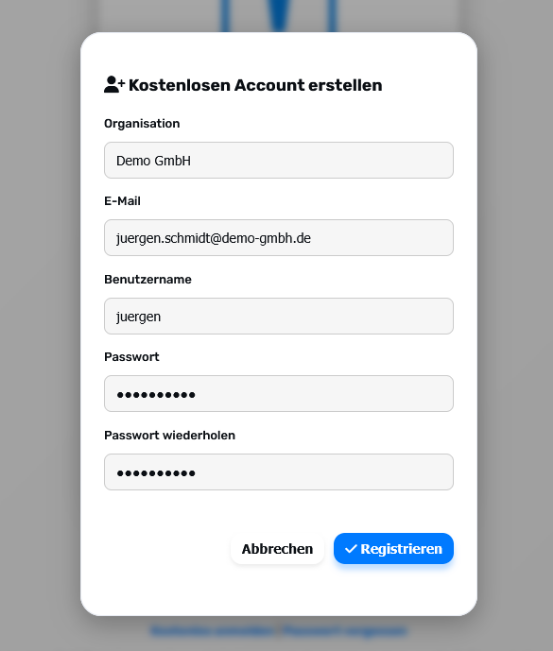
Onboarding & projects
On first login a welcome dialog starts, guiding you to create the first project.
More projects can be created or renamed later.
Screenshots
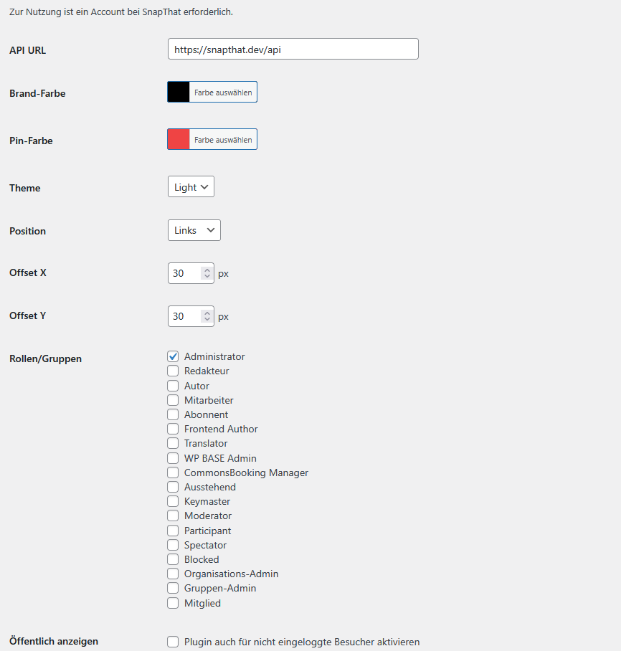
SnapThat WordPress Plugin
The official SnapThat WordPress Plugin integrates snapthat.plugin.js
directly into your WordPress installation. This lets you use SnapThat on your website without
manually adding code.
")